Applies To:
Show Versions
BIG-IP LTM
- 11.5.10, 11.5.9, 11.5.8, 11.5.7, 11.5.6, 11.5.5, 11.5.4, 11.5.3, 11.5.2, 11.5.1
Allowing Clients to Create their Own Translations with PCP
Overview: PCP client address translation
Port Control Protocol (PCP) clients can request specific NAT/CGNAT mappings for themselves and/or for third-party devices. This allows the PCP clients to set their own public-side IP addresses (also called translation addresses) in a network that uses CGNAT. In cases where the BIG-IP® system assigns a translation address or port other than the one requested, the client is at least aware of their assigned address or port.
You apply a PCP profile to a Large Scale NAT (LSN) pool of translation addresses. A client that uses the LSN pool can also send PCP requests to the BIG-IP system to request a particular address/port from the pool. RFC 6887 defines PCP.
Task list
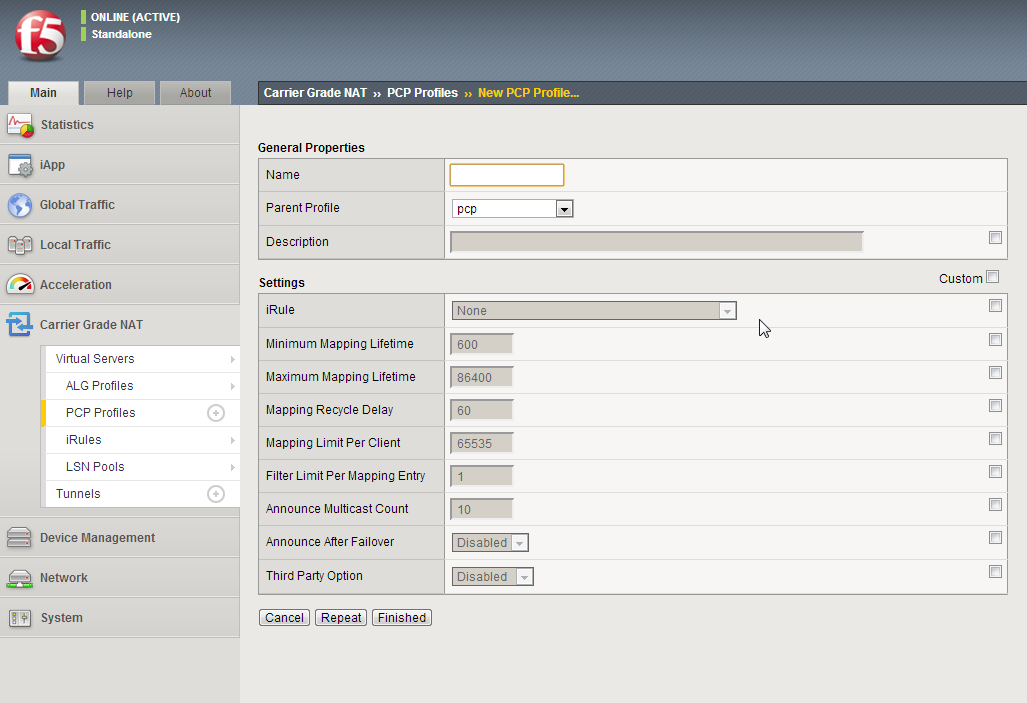
Creating a PCP profile
-
On the Main tab, click .
The New PCP Profile screen opens.
LSN pool configuration screen
Configuring an LSN pool with a PCP profile
You assign a PCP profile to an LSN pool in the pool's configuration screen. You also designate the IP address and/or DS-Lite tunnel to which the virtual server's clients can send their PCP requests.
-
Select an LSN pool from the list.
The configuration screen for the pool opens.
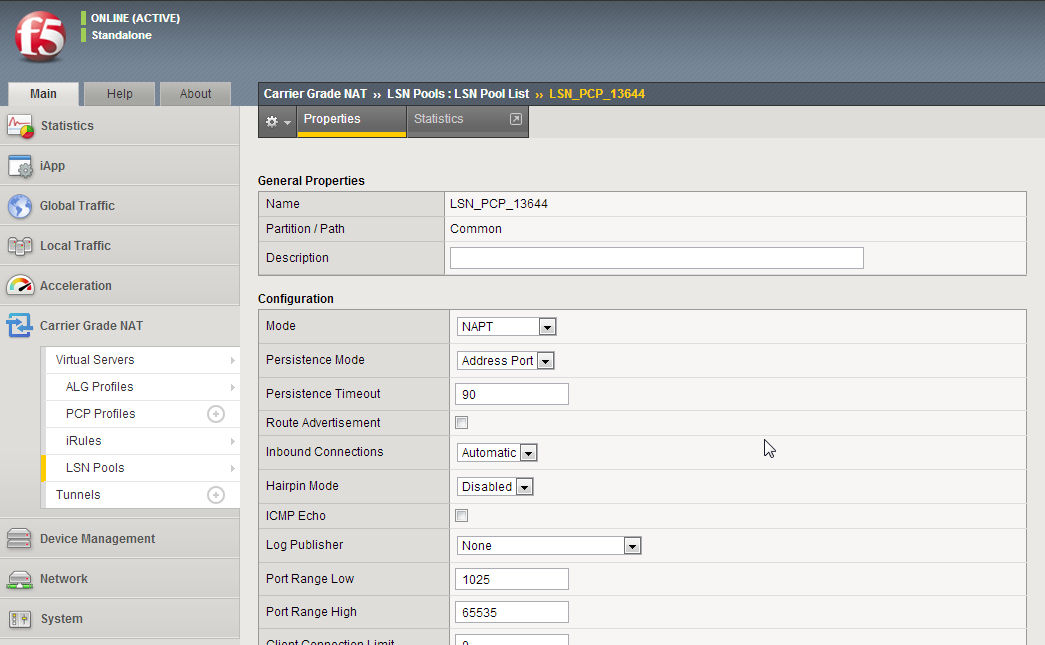
LSN pool configuration screen
-
From the PCP Profile list, select a pre-created PCP
profile.
If you have not yet created a customized profile, you can use the default PCP profile pcp.The other two PCP-related settings become active.

LSN pool configuration screen: PCP fields
Implementation result
All virtual servers that use the preceding LSN pool can now support PCP. A client can request a CGNAT mapping for its own IP address/port or that of a third party.


